I think this is my favorite DIY project yet. It’s up there with the diy tufted headboard & antique buffet transformation .
When first starting to plan the nursery, i was looking at colors and nothing was really catching my eye. I knew I wanted an all white room with an accent wall or accent ceiling & I definitely knew I wanted glamour, modern & sophisticated. I decided to browse through my Pinterest Nursery board (Gotta love Pinterest!)
and low and behold.. this photo
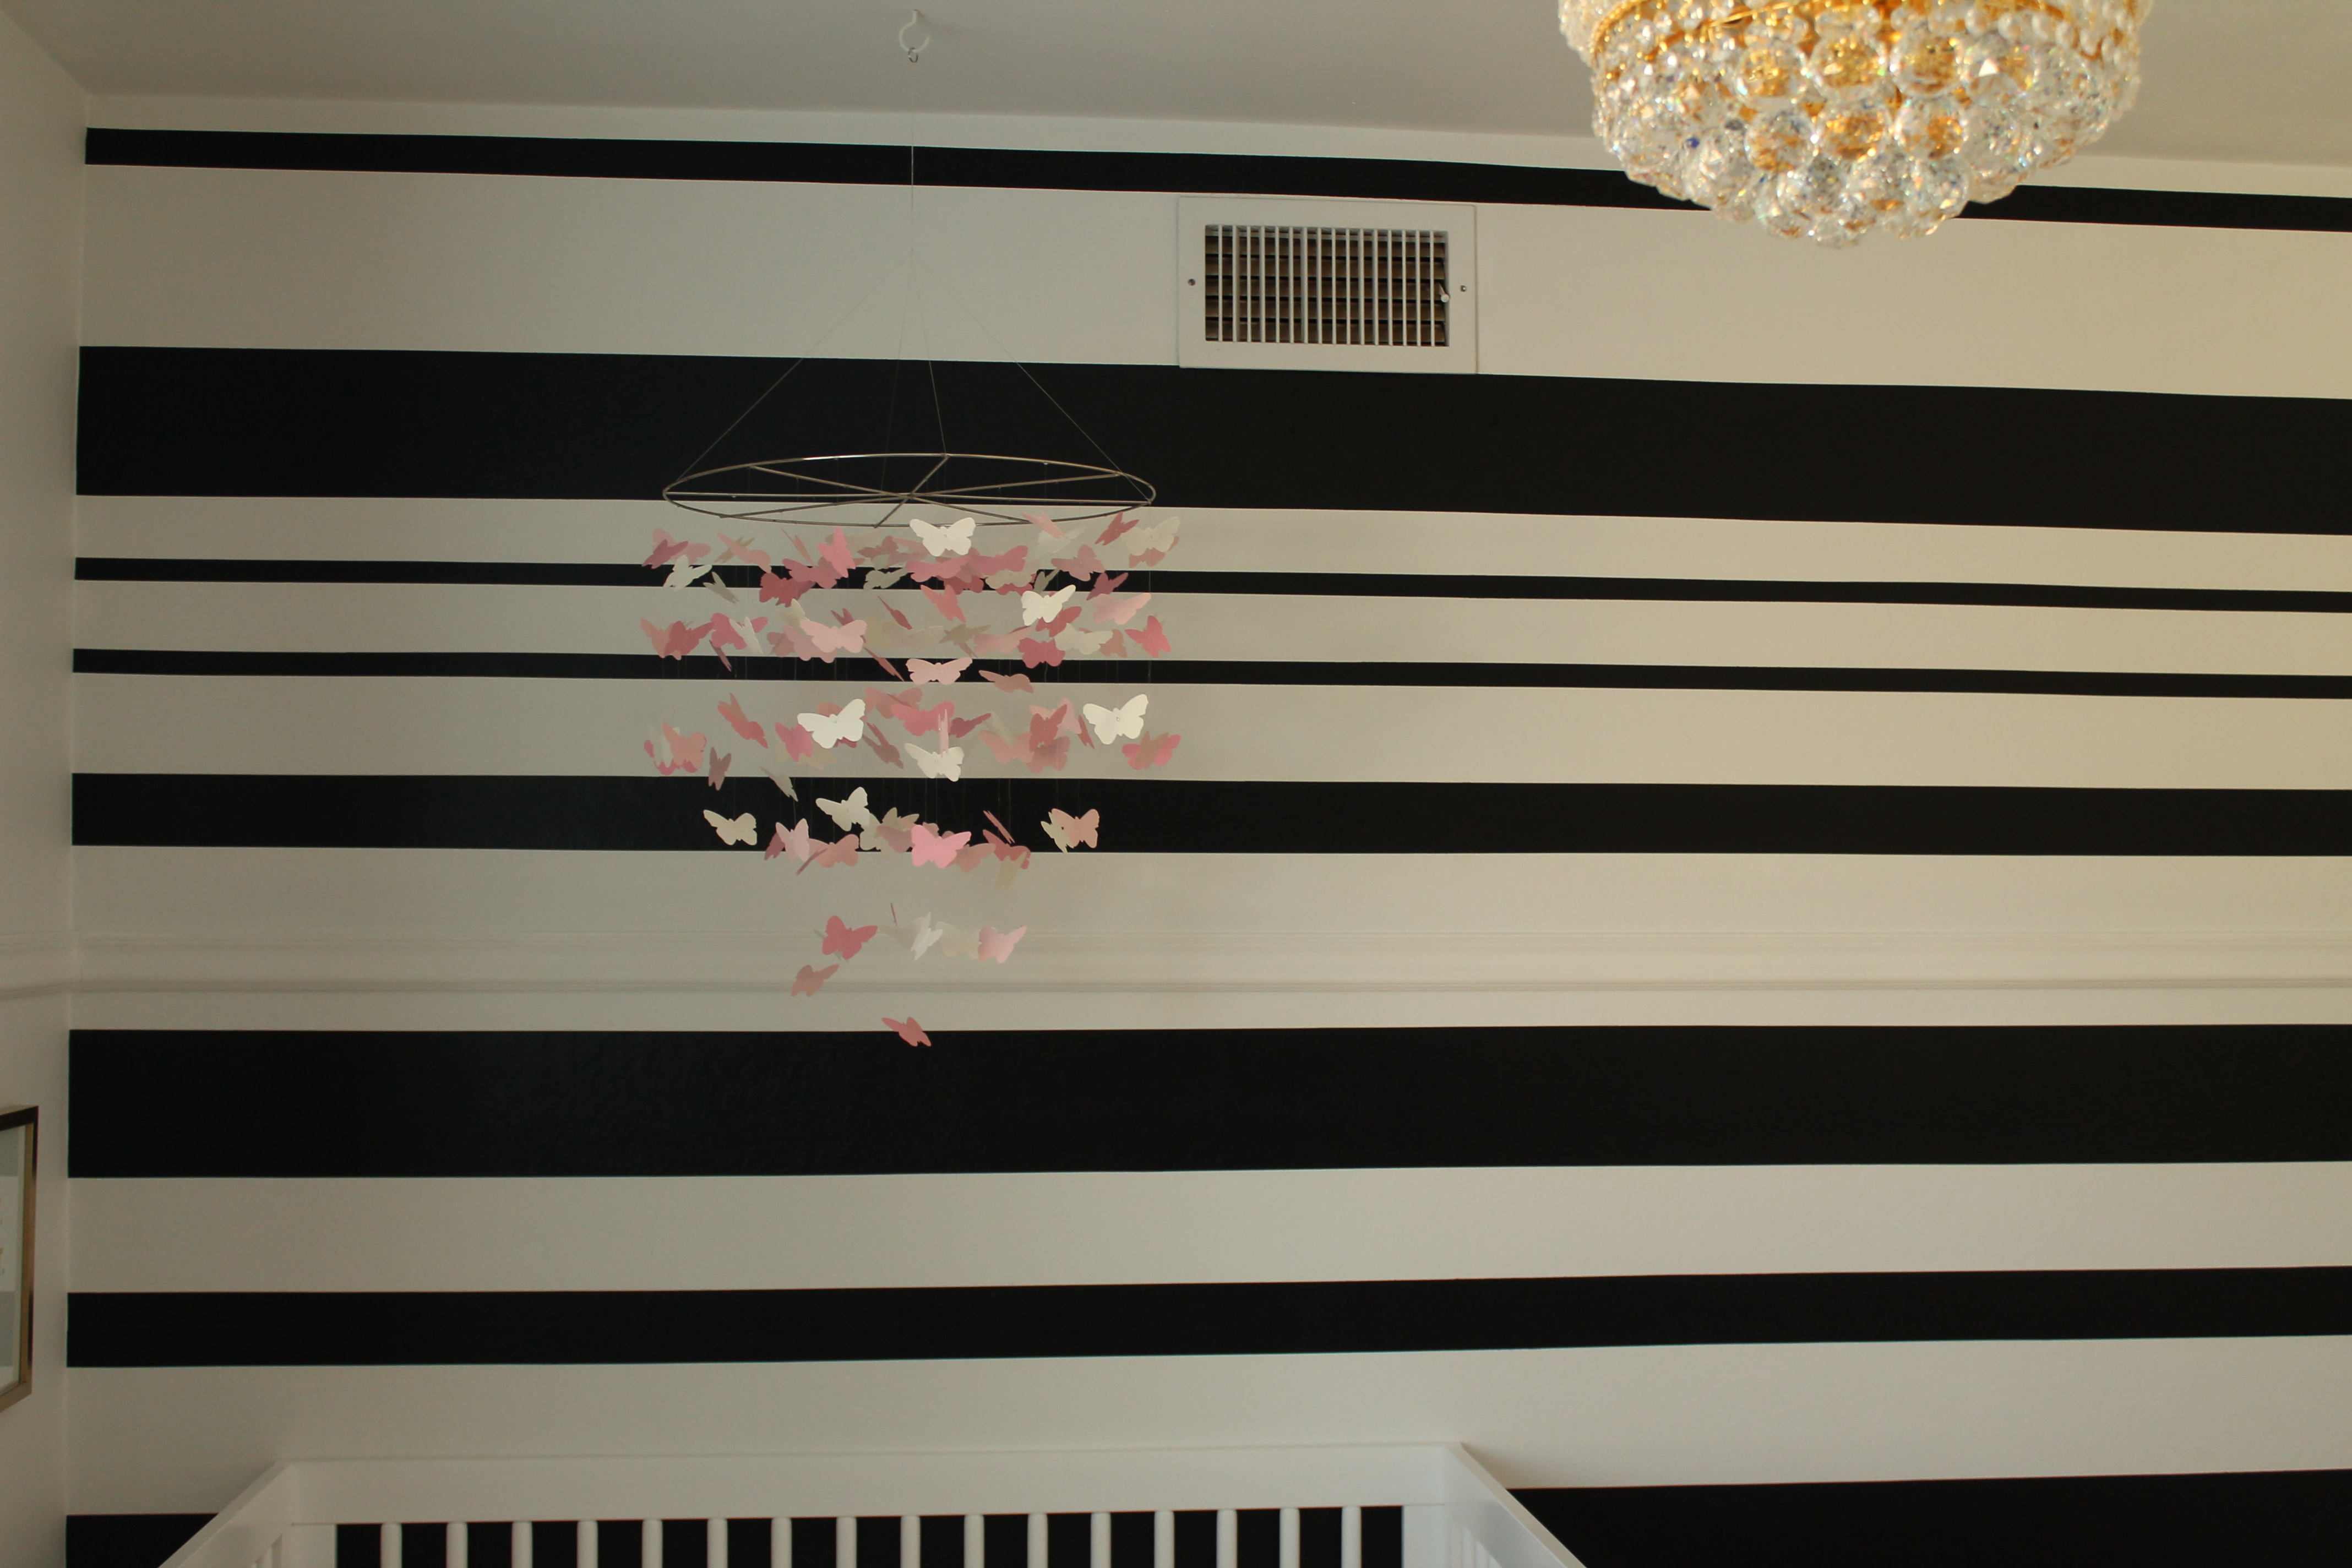
 I don’t typically like vertical stripes, so I was on the hunt for horizontal striped pattern. Also I didn’t want the standard stripe wall, with all the stripes being the same size. I googled irregular striped wall and fell in love with this look
 Amazing right? Once again, Clayton thought I was absolutely out of my mind & could not wrap his head around why I would want a black and white room with no pink on the walls! Even though I profusely explained to him that there would be pink accents everywhere, he just wasn’t understanding my whole concept. Typical.
So now for the DIY portion of this post..
What you will need:
- ruler
- pencil
- pure white flat paint
- pure black flat paint
- LOTS of frog tape
- plastic spackle tool
First you need to paint the wall white. Decide how many stripes you want on your wall. Also how many inches each stripe will be. (I drew out a little diagram of this part, so I could conceptually understand how it would look on the wall) Measure them out with your ruler and make a few marks with your pencil. Draw a straight line across the wall, connecting the pencil marks. In order to keep the pencil line straight, we used the top cover piece of the window blinds. Very resourceful!
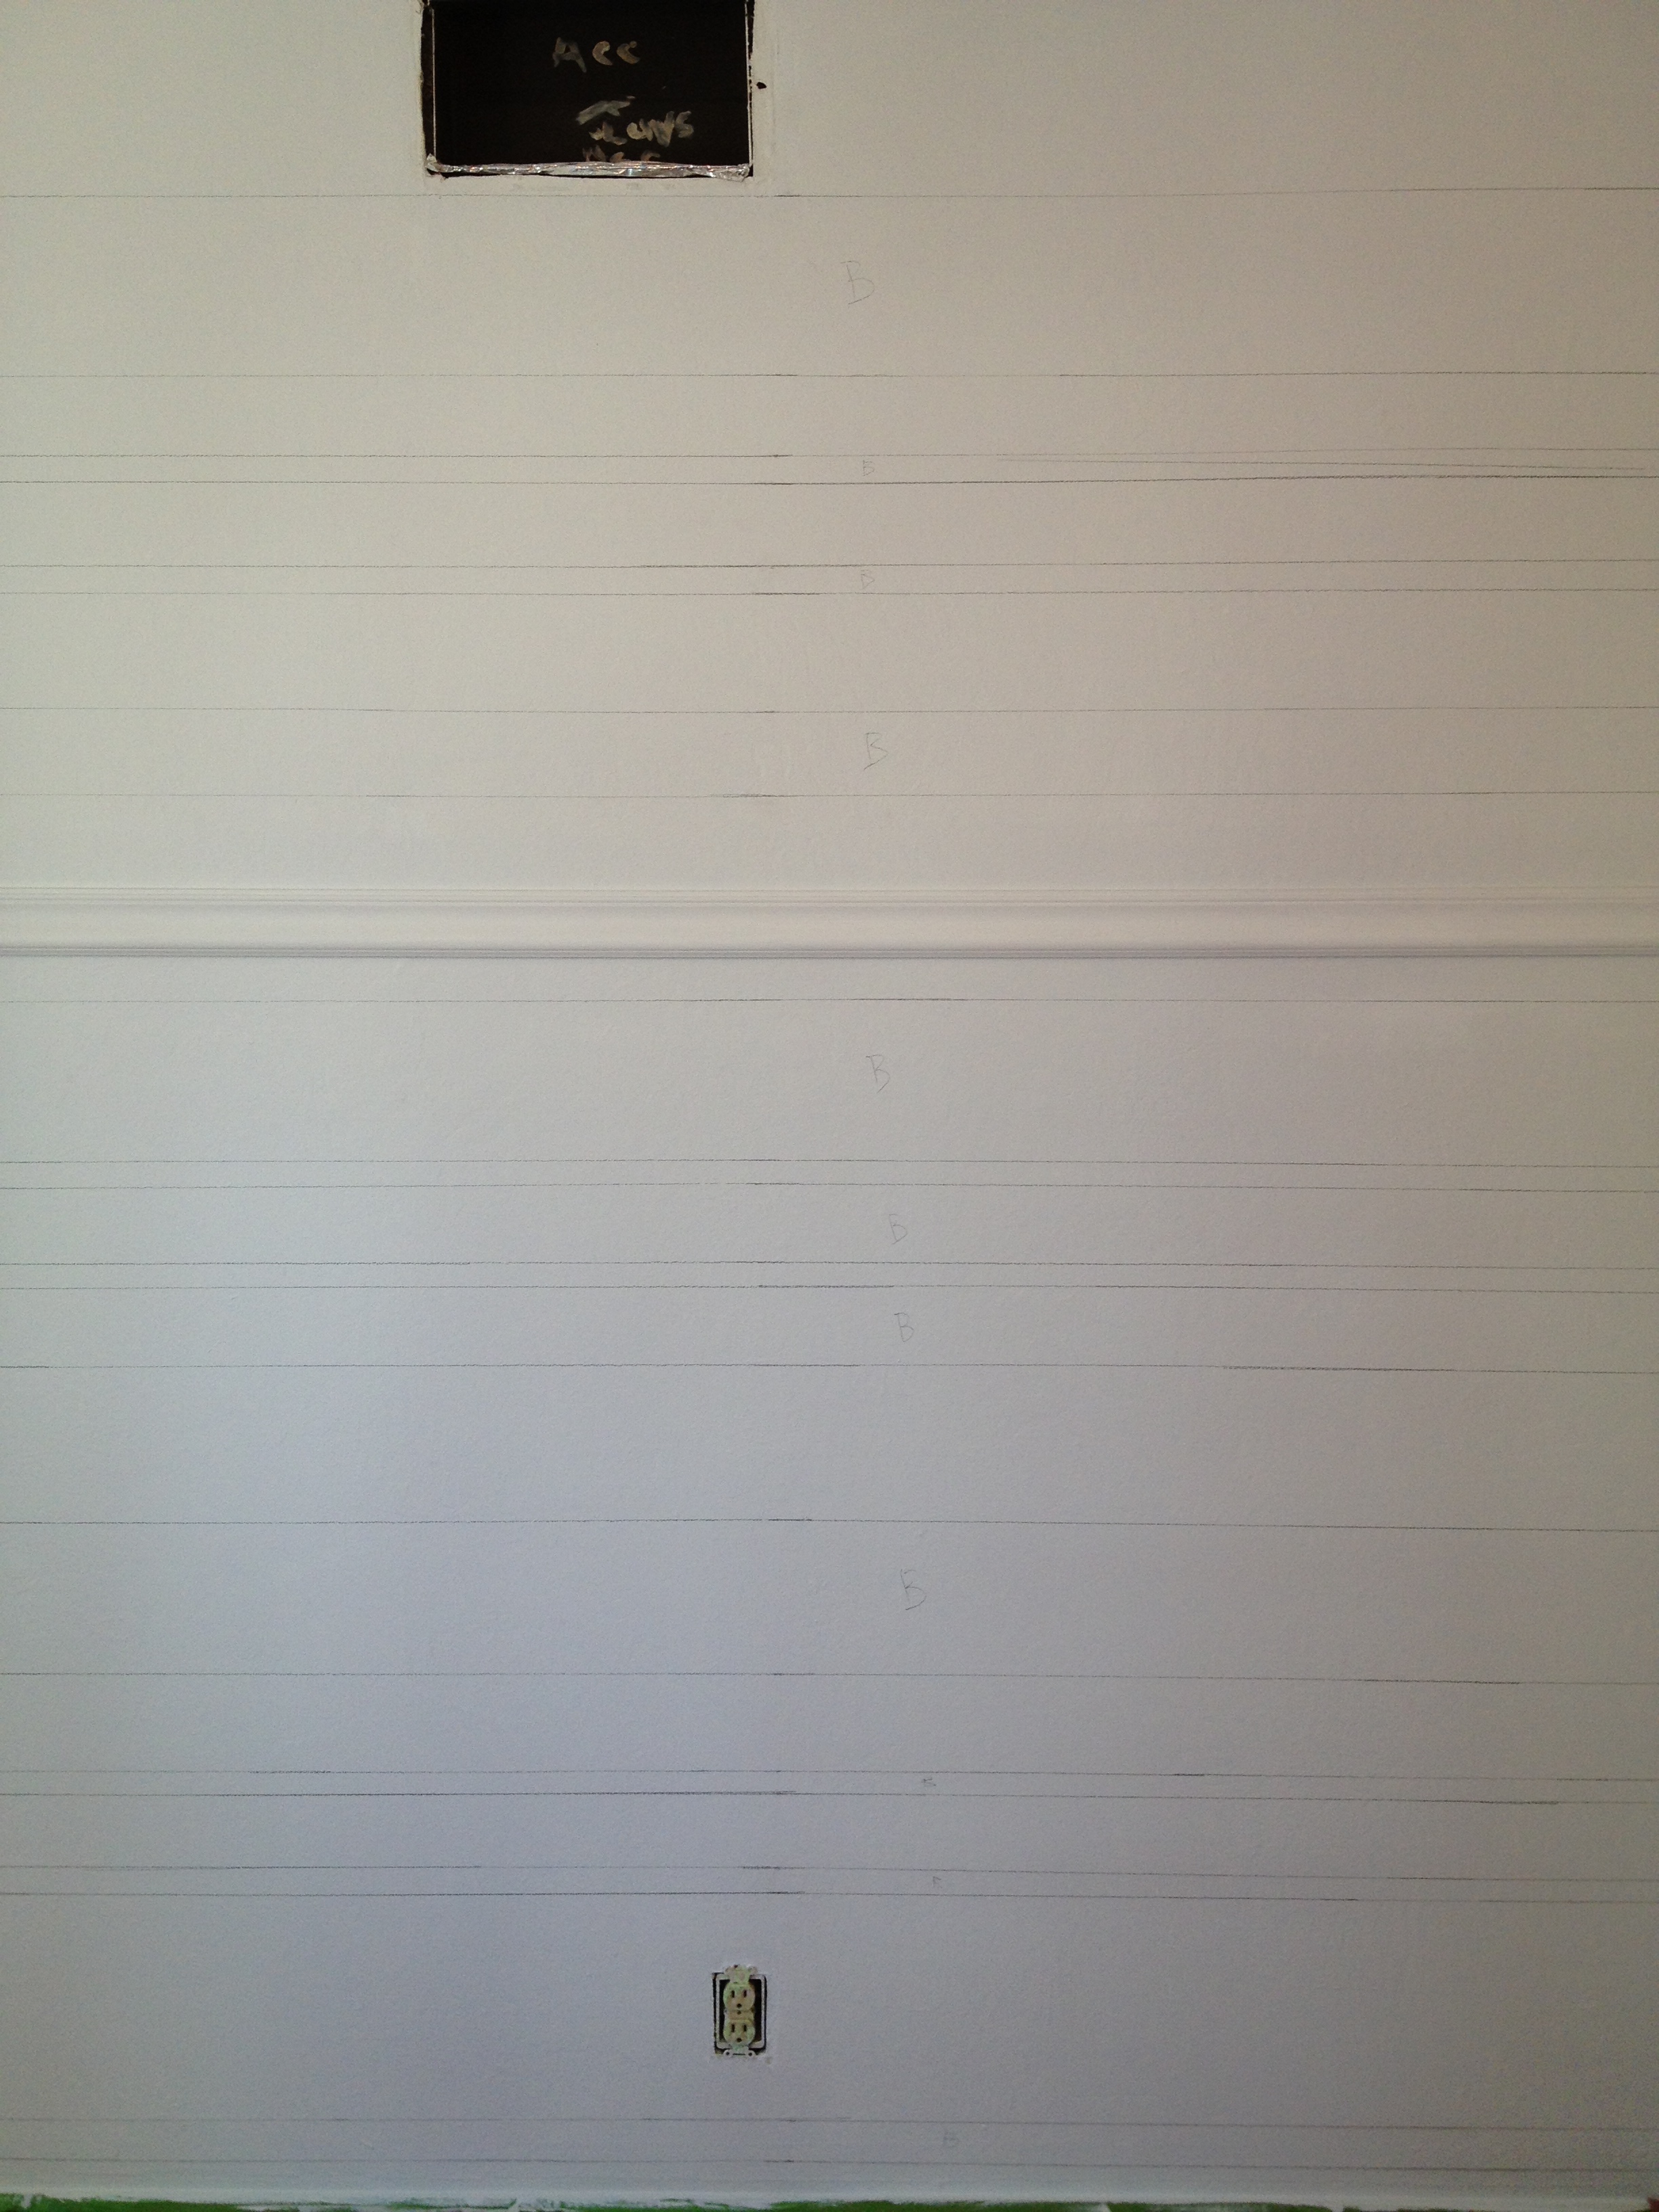
Should look like this when you’re done. I put a “B” on each stripe we were planning to paint black, so we wouldn’t get confused. I highly recommend doing this, otherwise you could accidentally paint black where it’s supposed to be white.
**Side note** You are probably thinking.. why didn’t they just use a level? Well yes, you would think that would be the easiest option. However, most older houses are built where the walls are not level. So that’s why using the measuring method is best, unless you want your stripes to be slanted. For newly constructed houses, you could get away with using the level.
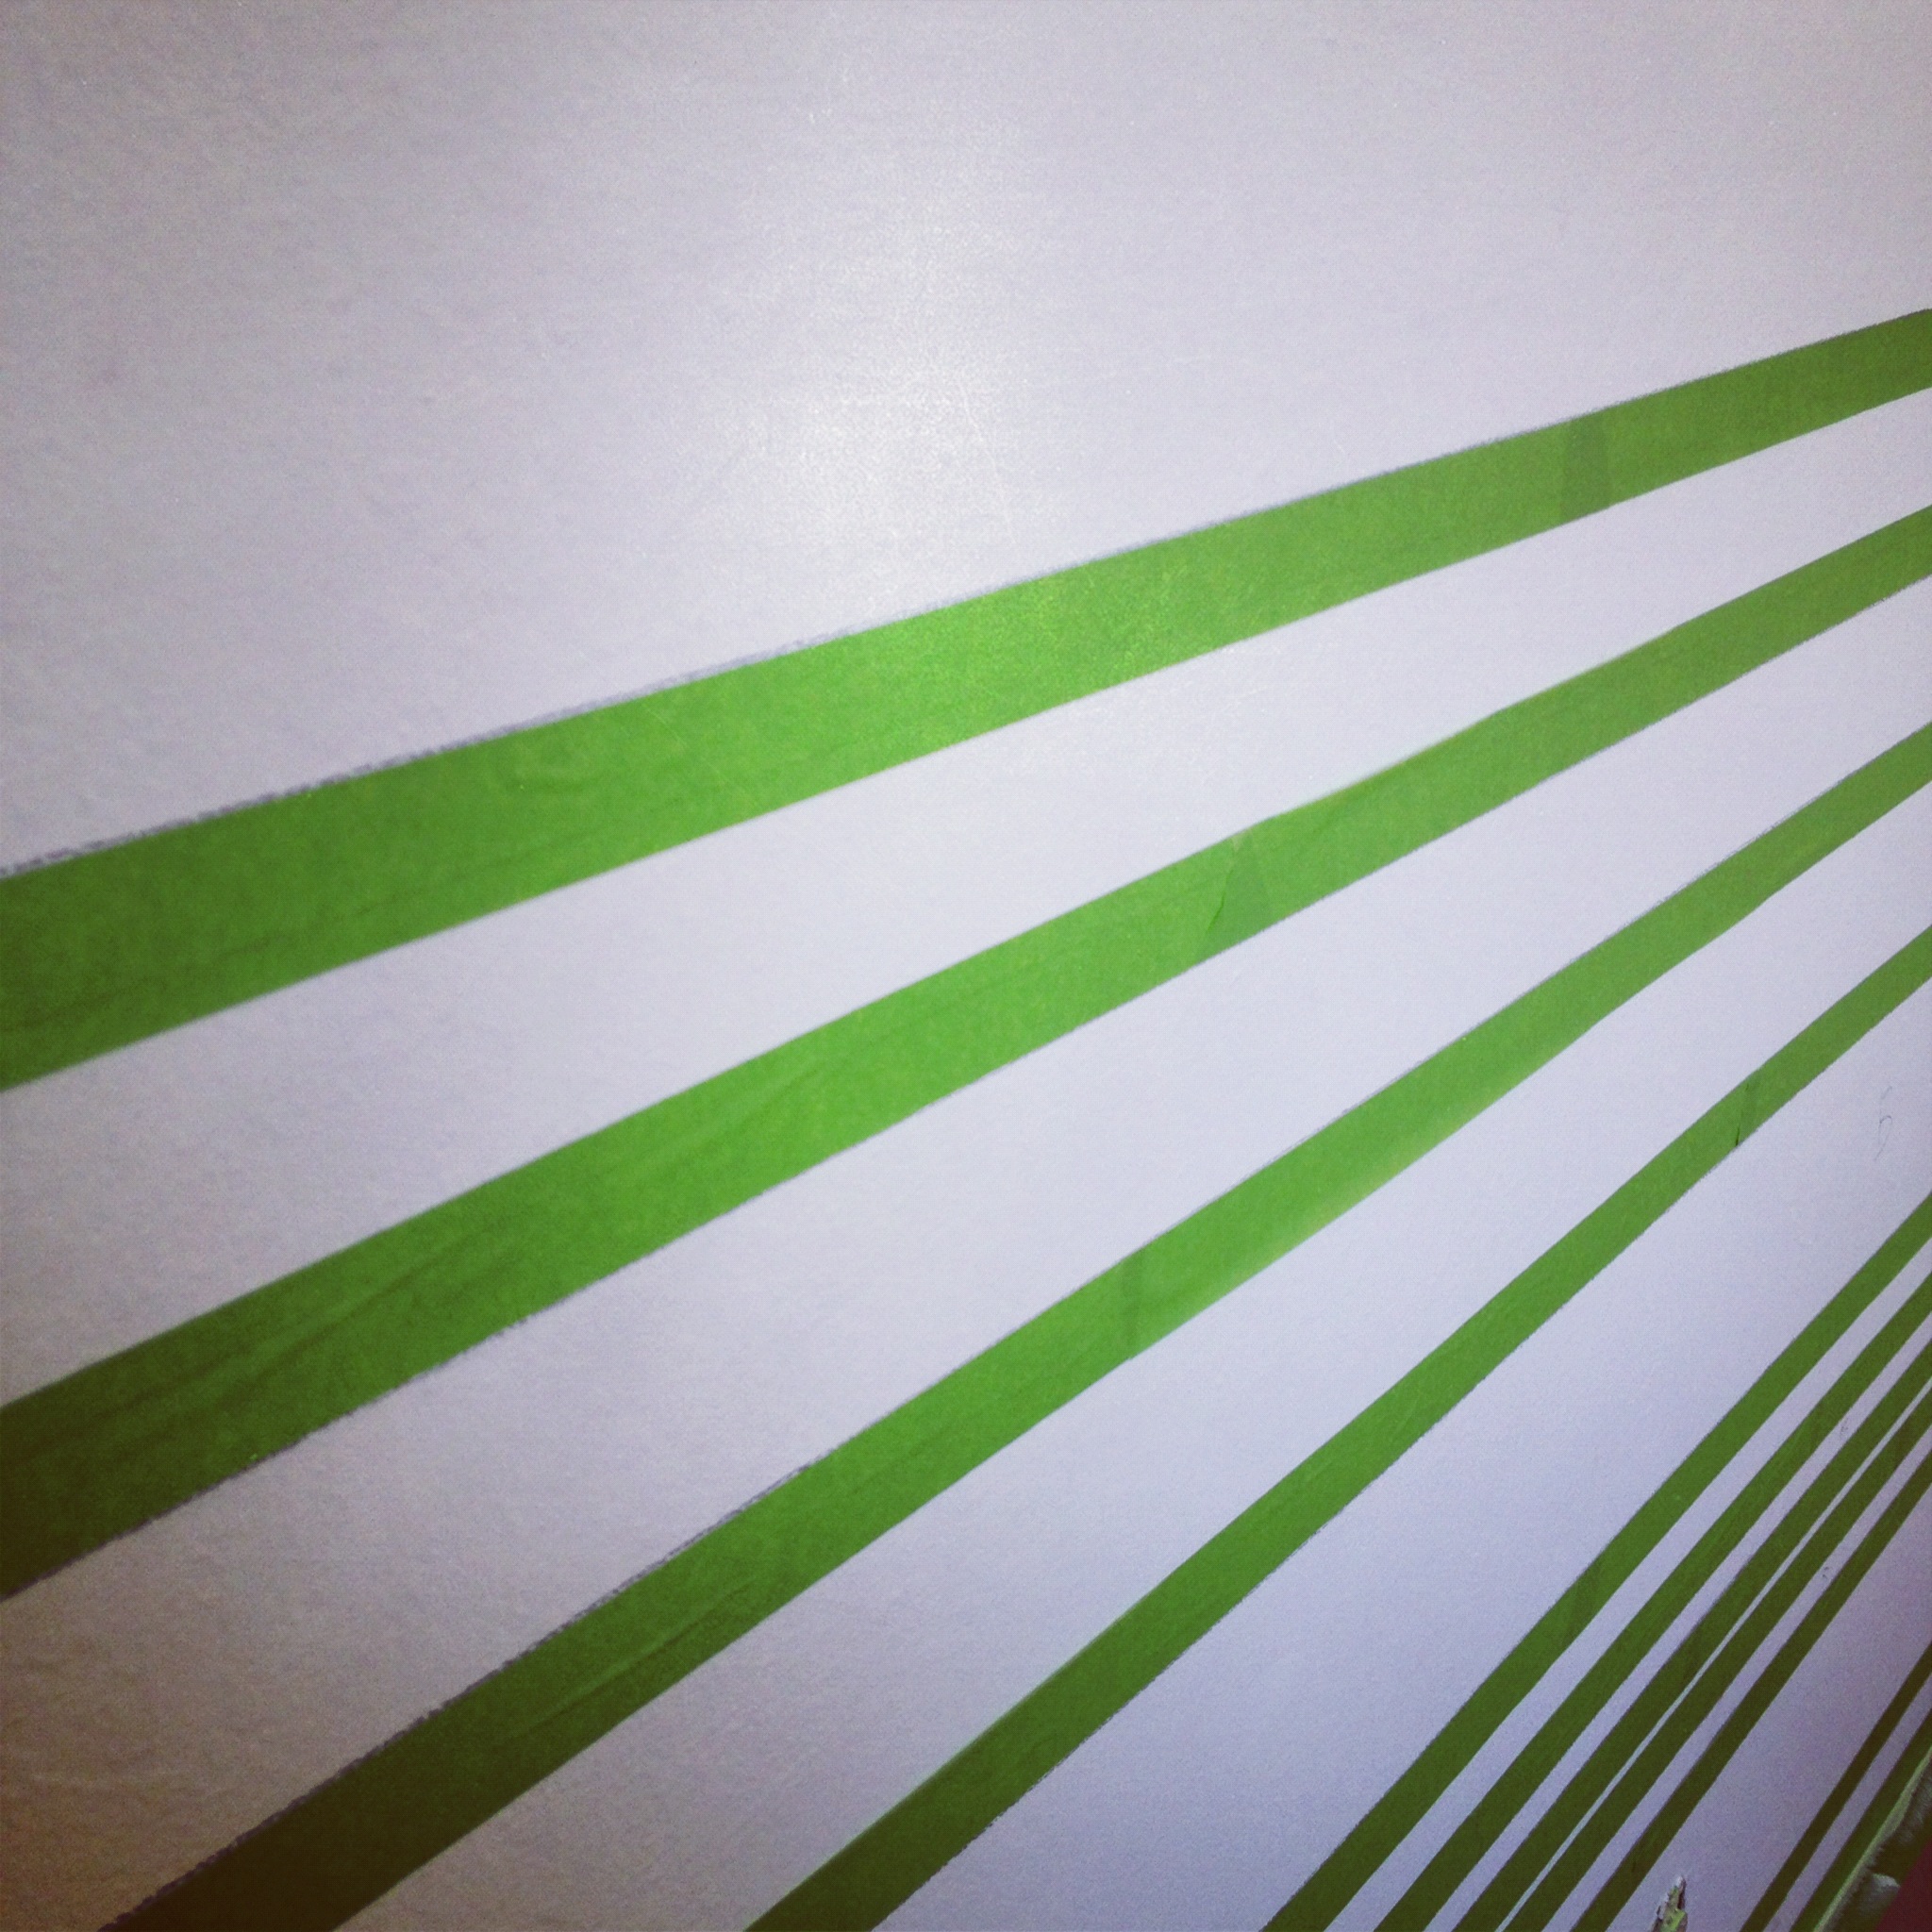
Now for the most tedious part of the process – tapping.
I really took my time on this, making sure the tape was straight with the pencil lines. I also made sure to tape outside of the pencil lines, so that the black paint would completely conceal and pencil. Don’t worry if it’s not perfect, you can always go back after it’s dry with white paint to cover any pencil marks.
 (Sorry for the crappy iphone pics)
Once all the tapping is done, take your plastic spackle spatula & run it across the frog tape edges, ensuring no paint seepage. Then take your white paint and do a coat inside the “B” marked stripes. This will guarantee that no black will seep through & ruin your stripes.

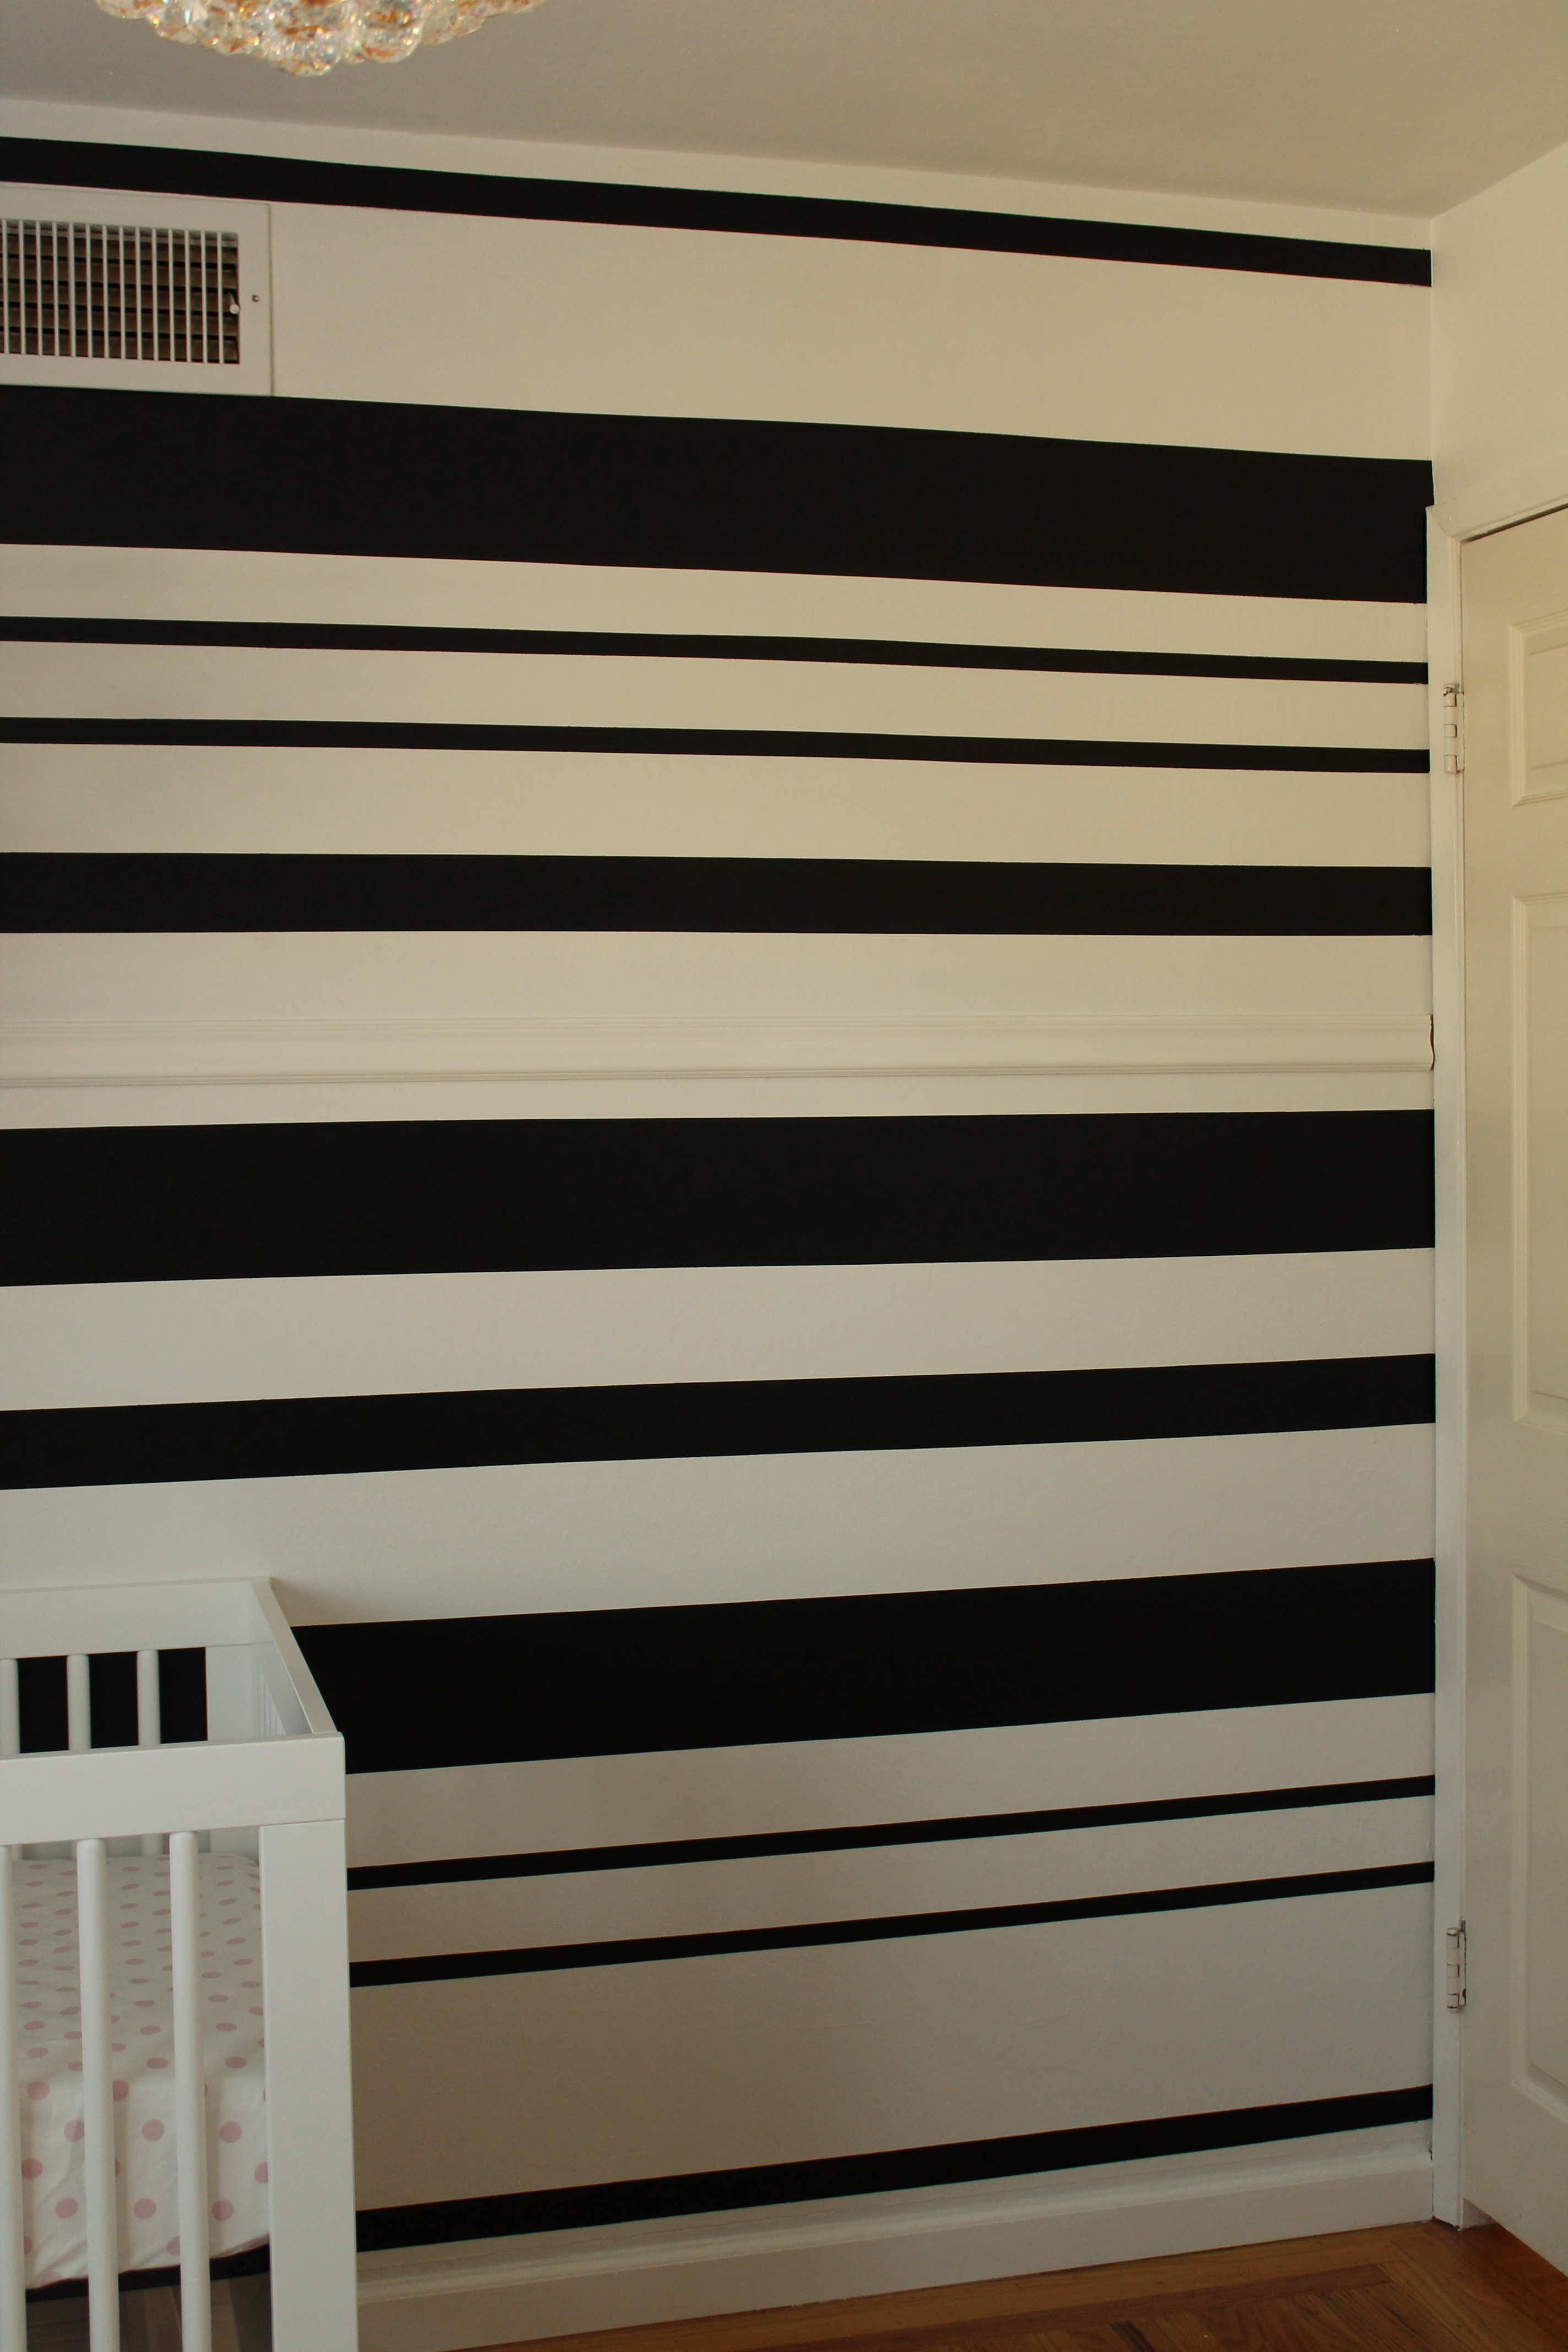
After about 2 hours, paint on your black stripes. I took me about 3-4 coats. After an hour & 1/2 we pealed off the frog tape, to reveal perfect stripes. I was amazed. I couldn’t believe how good it looked. You don’t want to wait more than two hours to remove the tape.
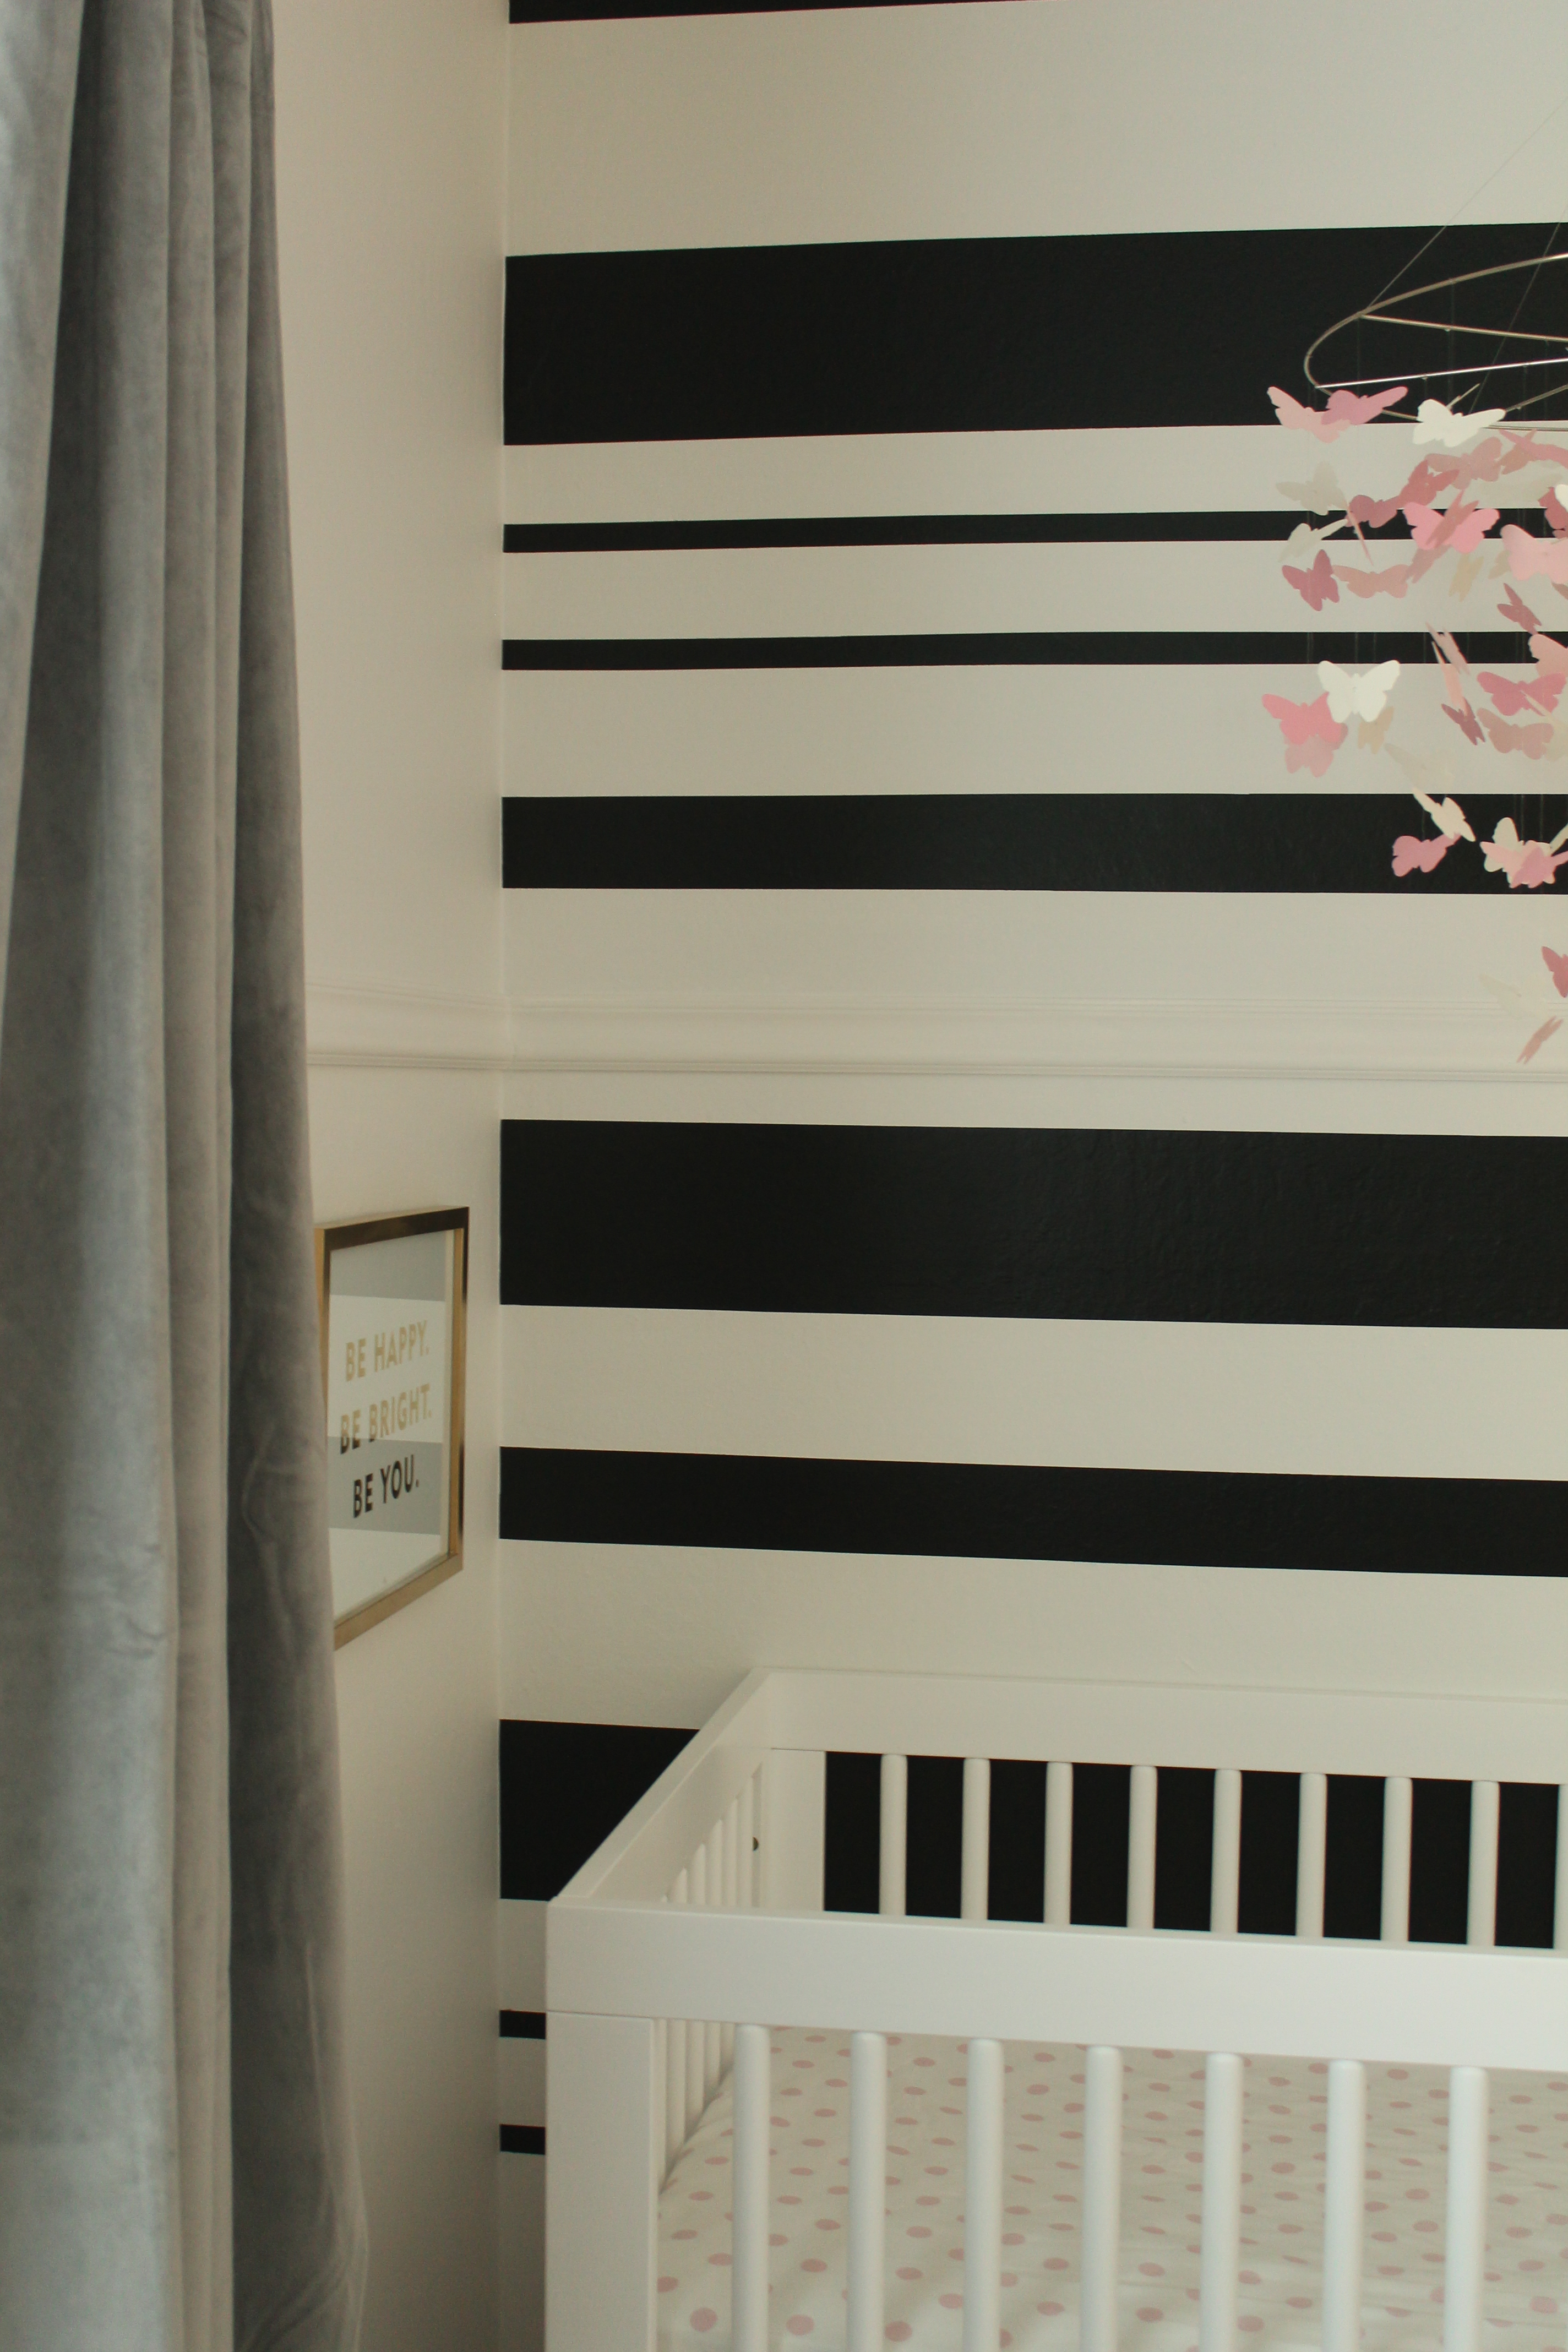
I especially love the skinny stripes on the wall.
 Honestly, I’m no professional painter or DIYer by any means.. so if we can do it, you can too.
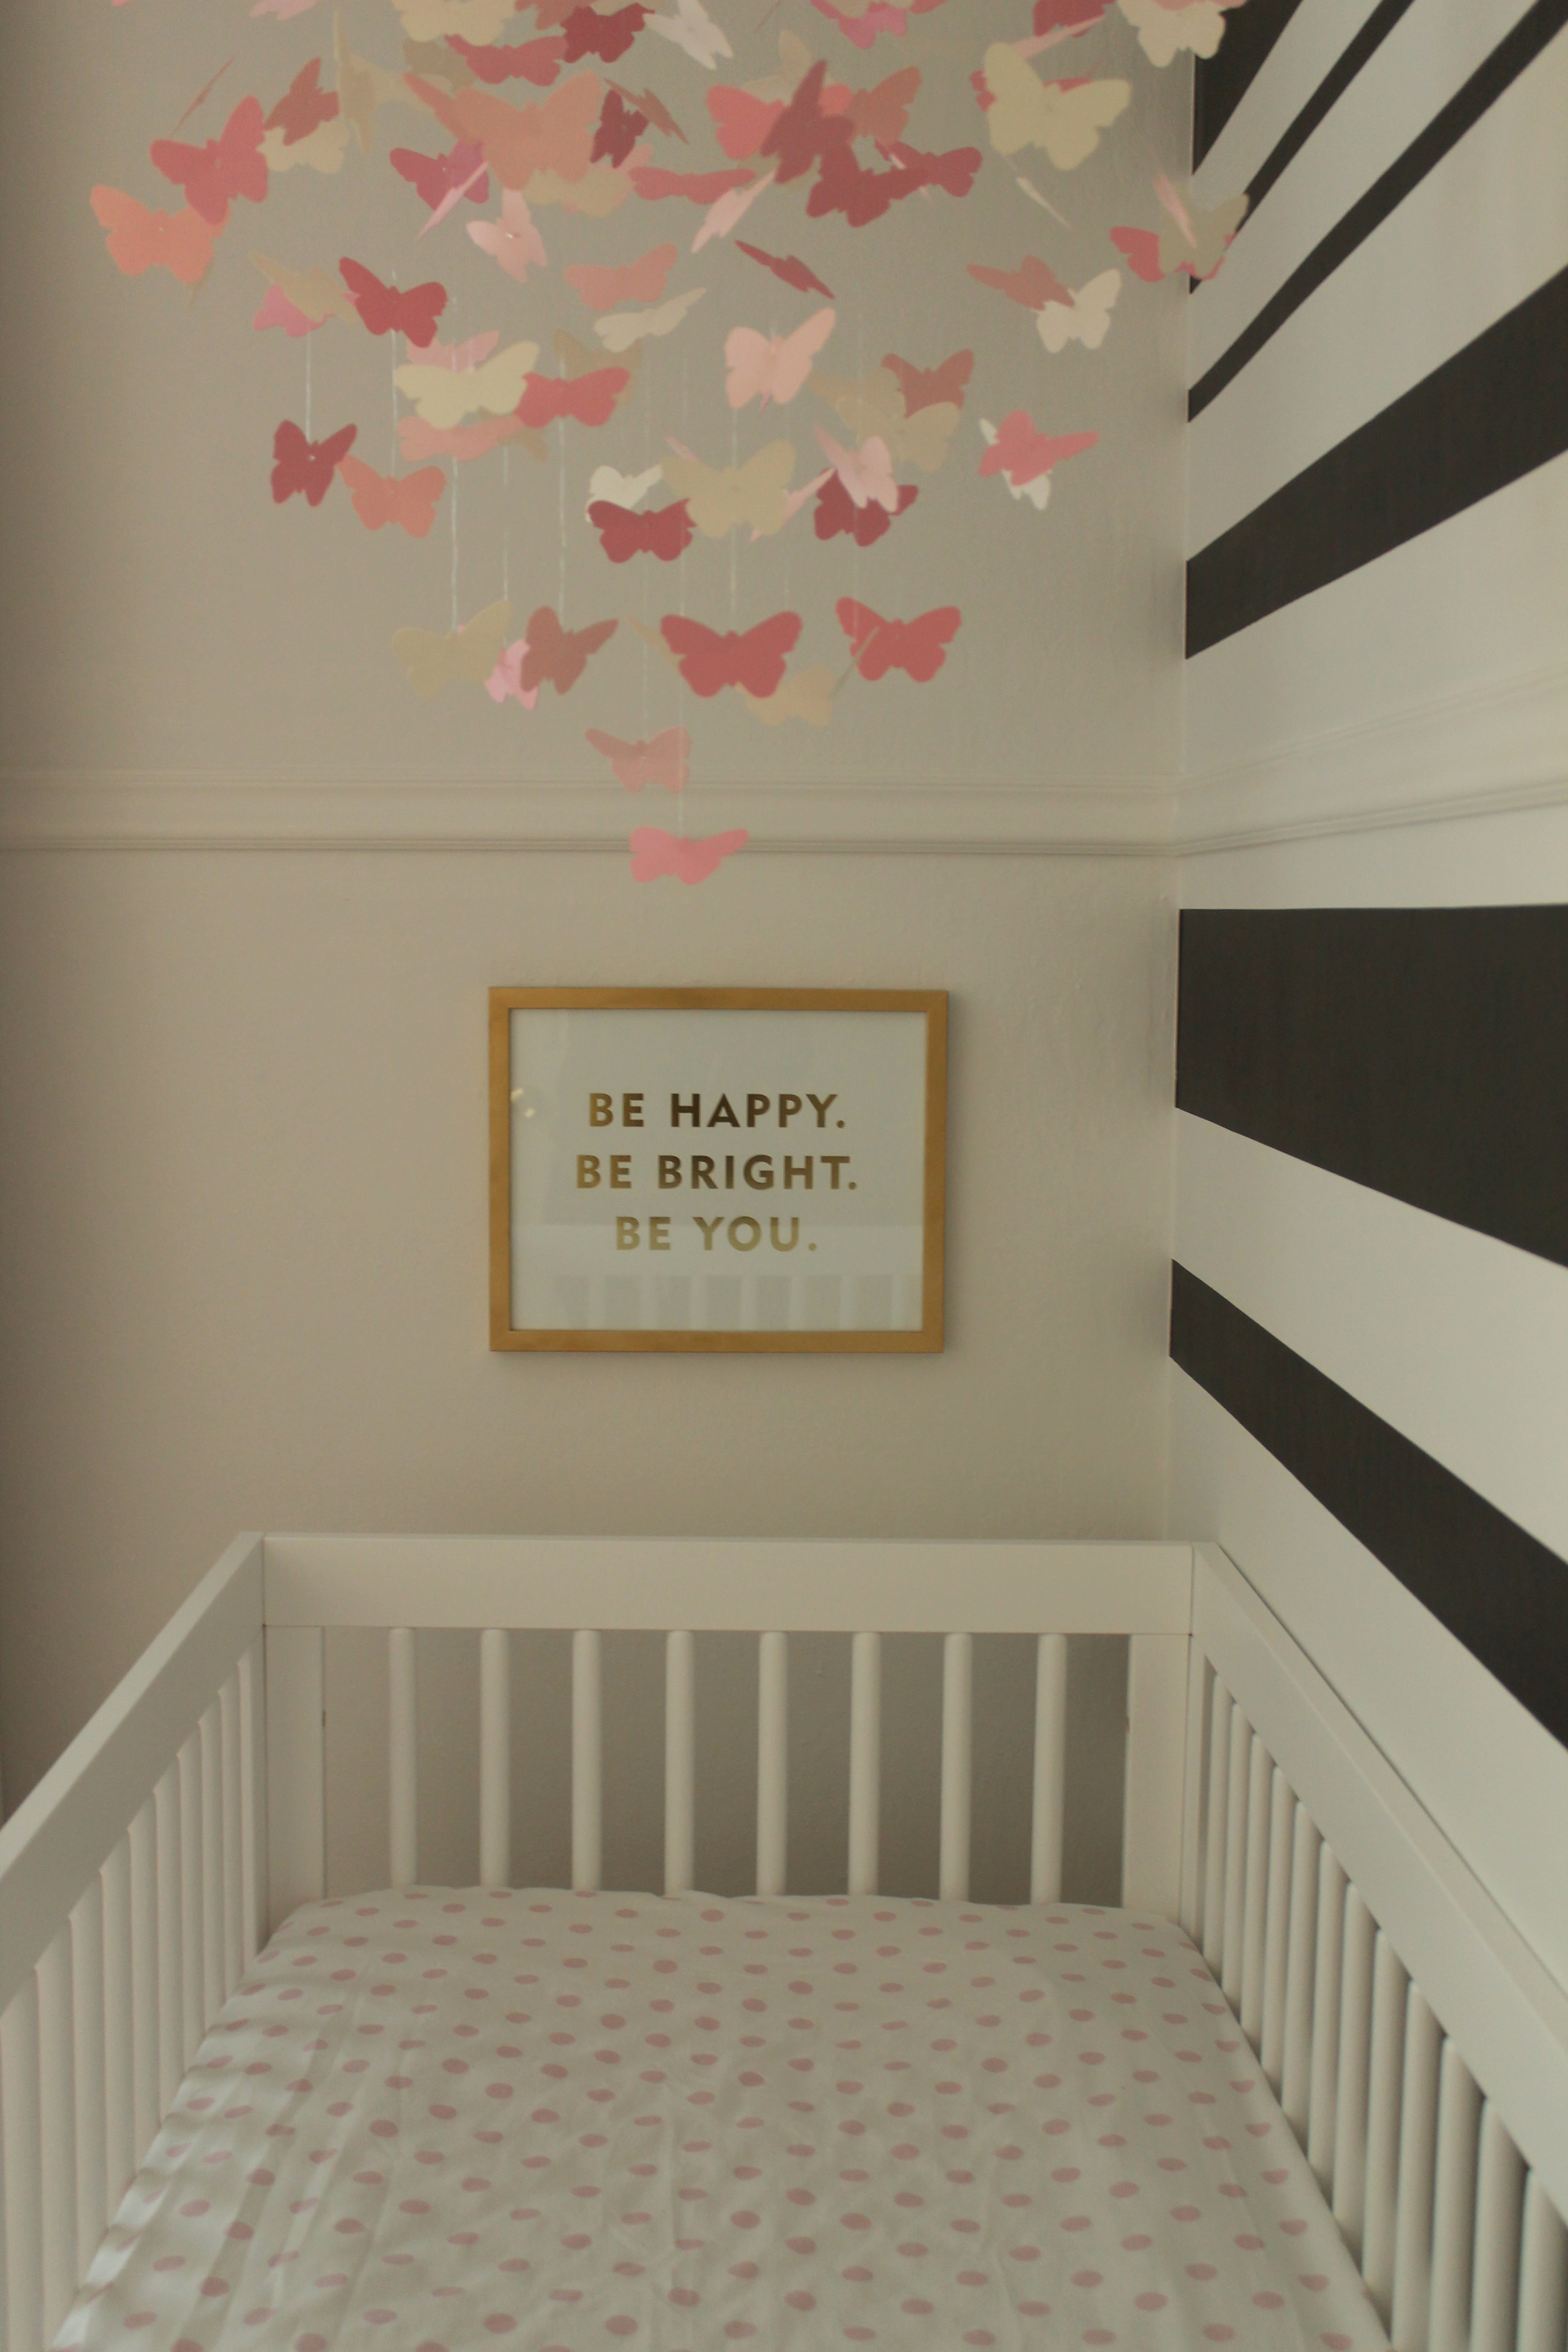
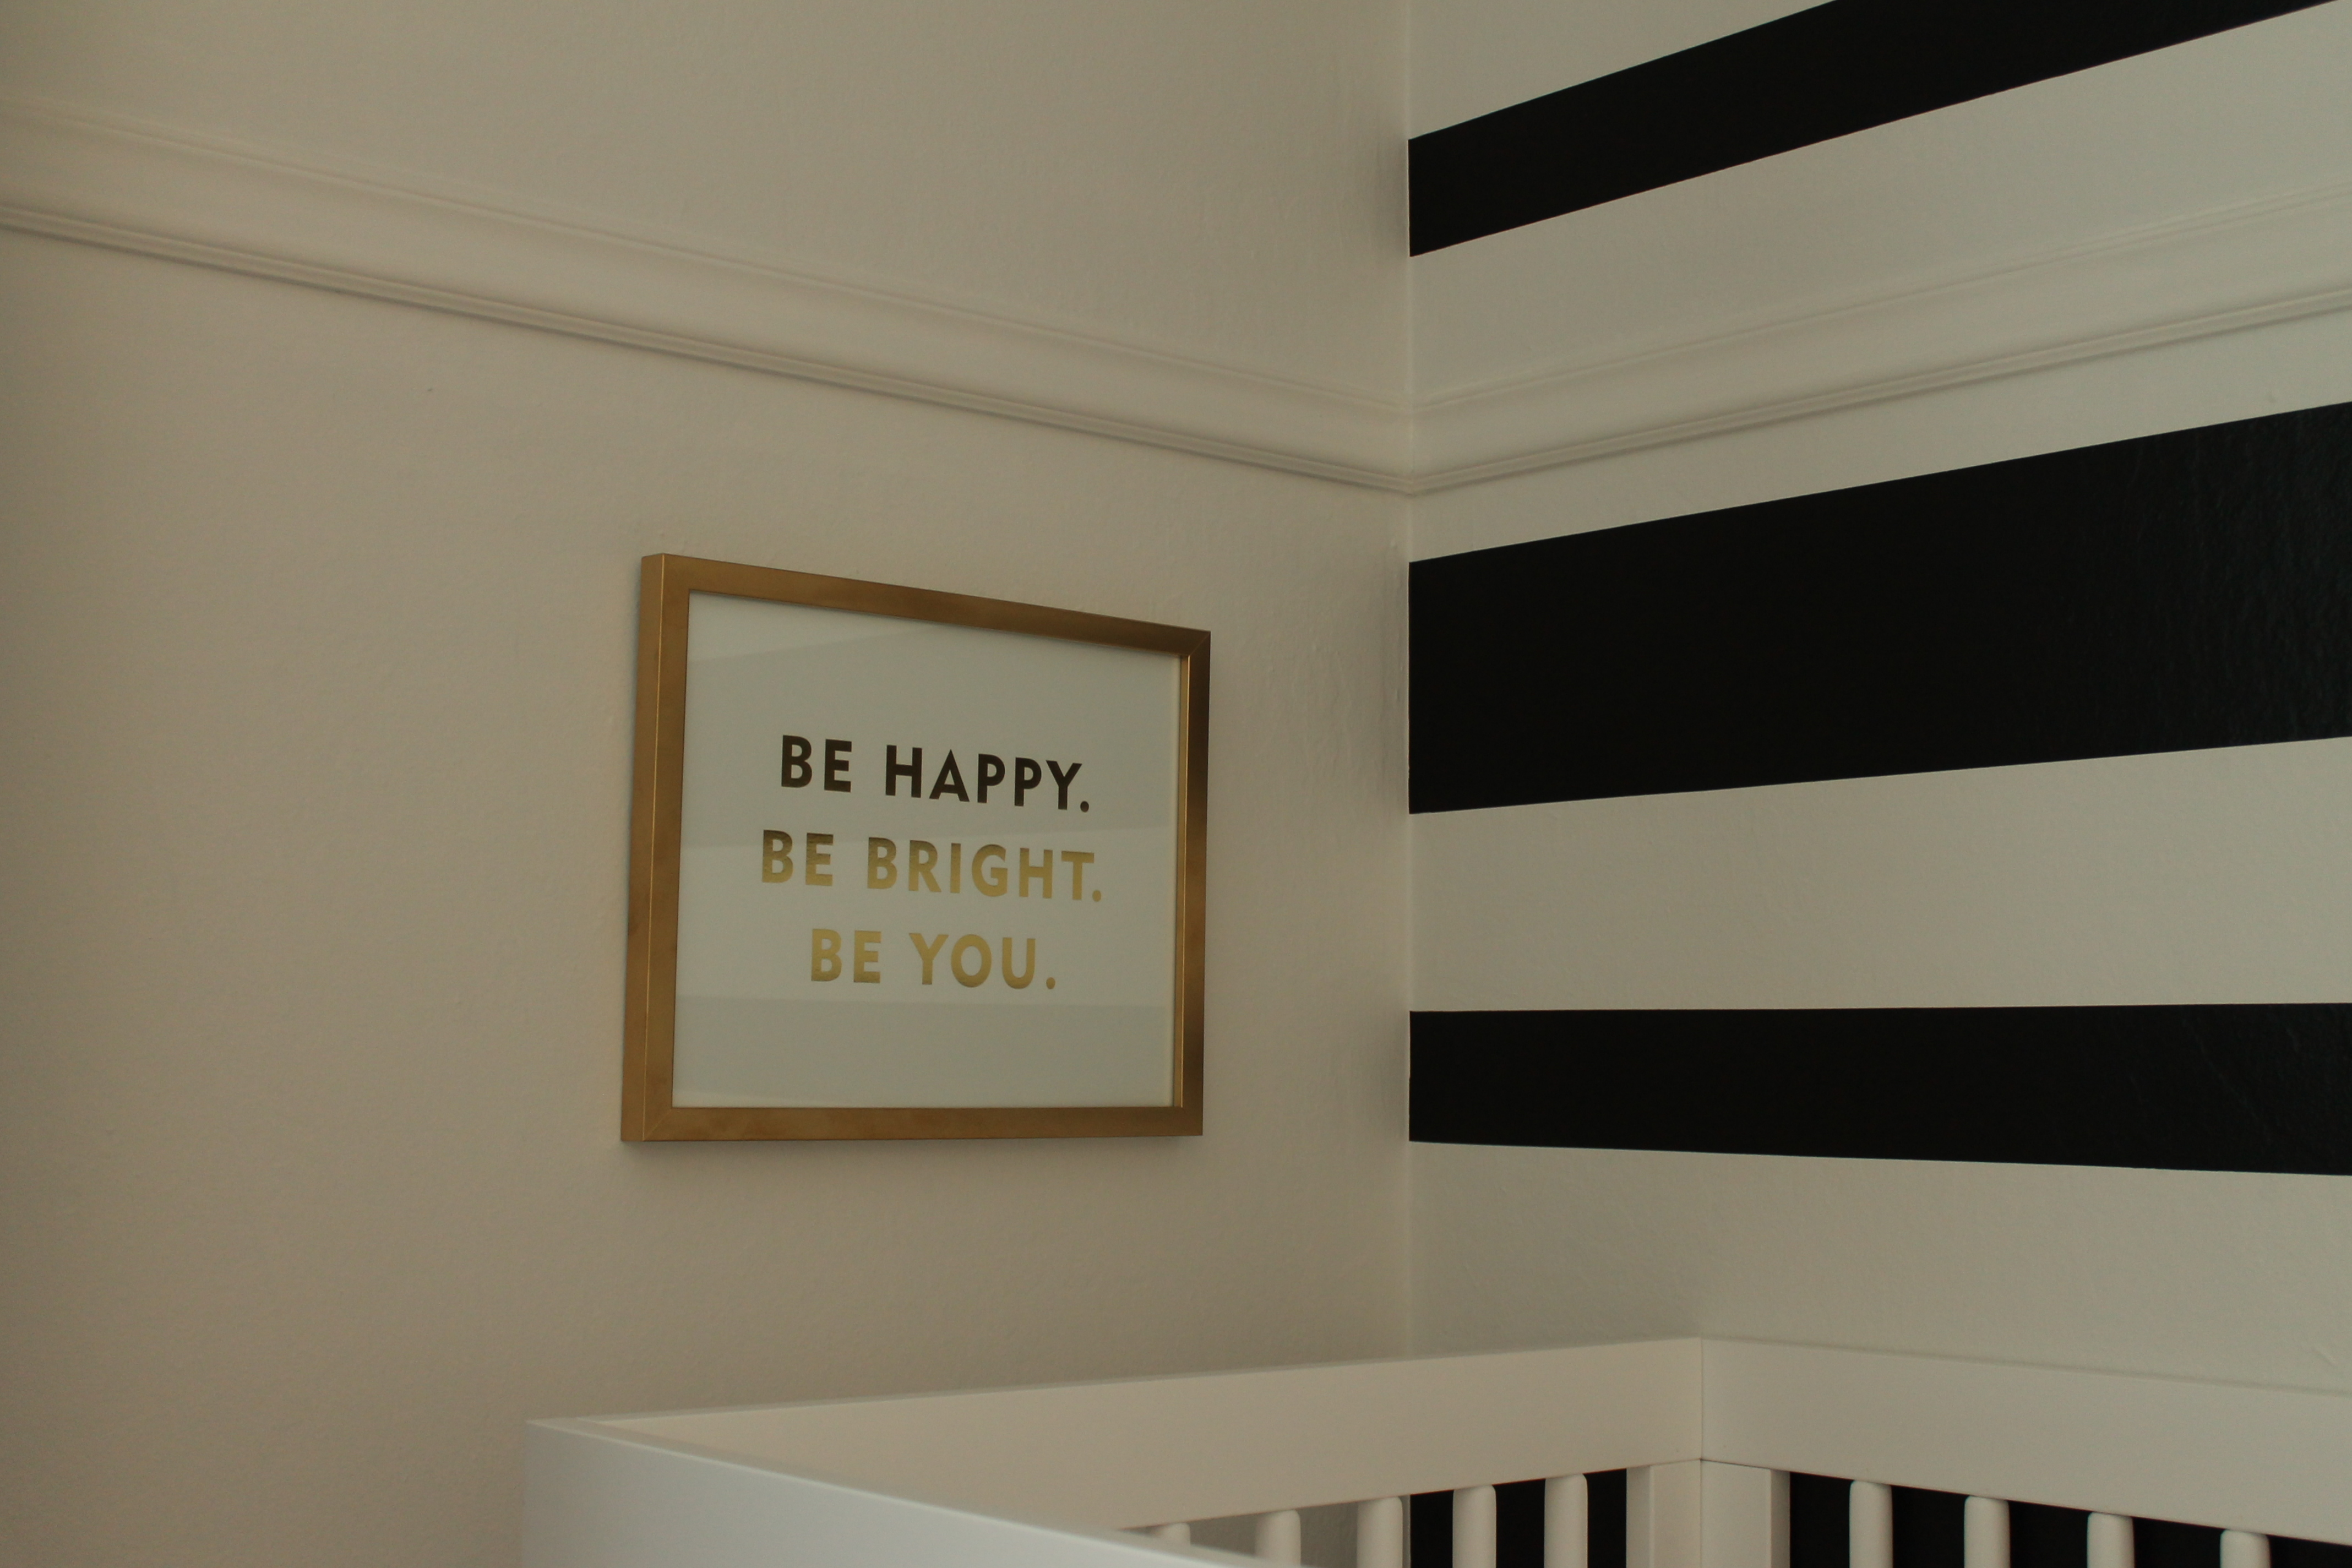
I’m so happy with how it turned out. For the next few days after it was complete, we both couldn’t stop going in the room just to stare at the wall! lol. Makes me happy! Can’t wait for our girl to arrive, so I can spend more time in here.  Maybe the husband will start having more faith in my crazy unique ideas now. He loves the room & so do I.
I’ll share more nursery photos once it’s complete!
 Xo, Melissa